4.0 Adding authentication with Auth0
You can use an identity provider like Auth0 to easily add authentication to your apps.
This means users can be asked to log in before viewing a page that includes CMS content, for example.
Introduction
This tutorial is based on the official Auth0 tutorial for a C# and React single-page application.
In this tutorial, you’ll set up a React front end that displays public information as well as protected information that users must log in to see.
What you’ll build
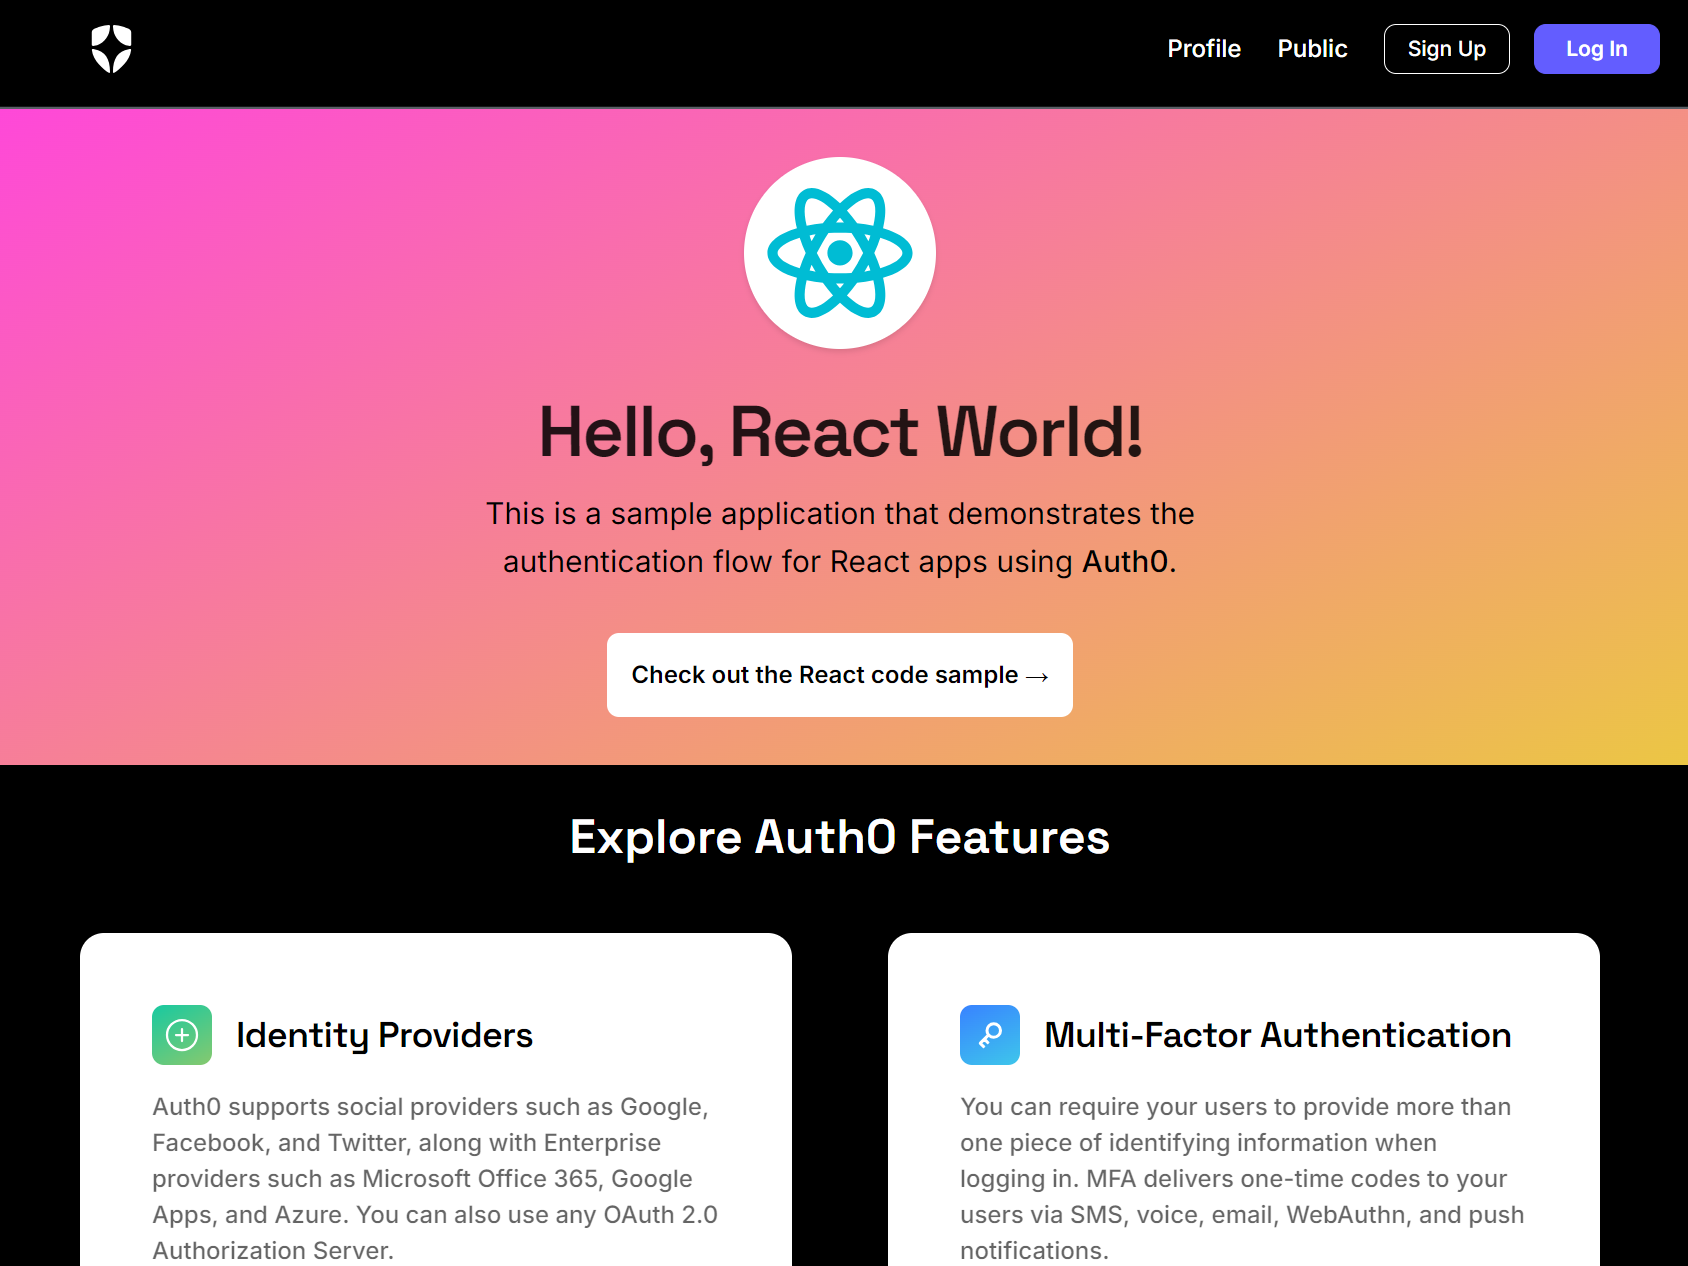
You should see the following landing page when connecting to http://localhost:4040:

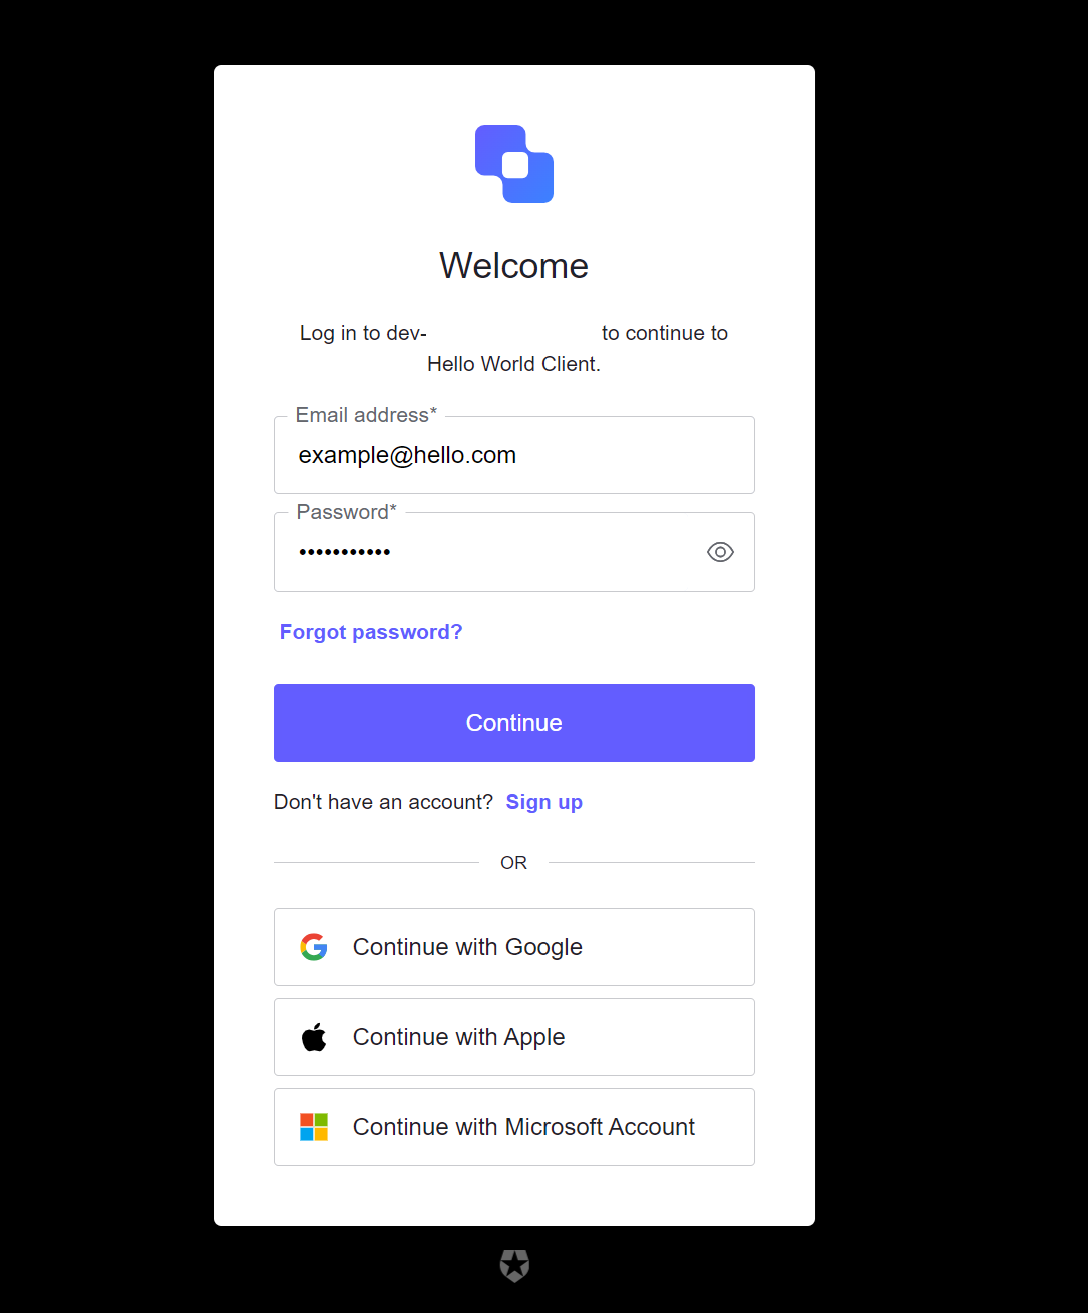
If you click Log in or a protected link (e.g. the Profile tab), the app redirects to Auth0’s login page.

The first time you log in, Auth0’s login page will ask if you want to share basic profile information with your application.
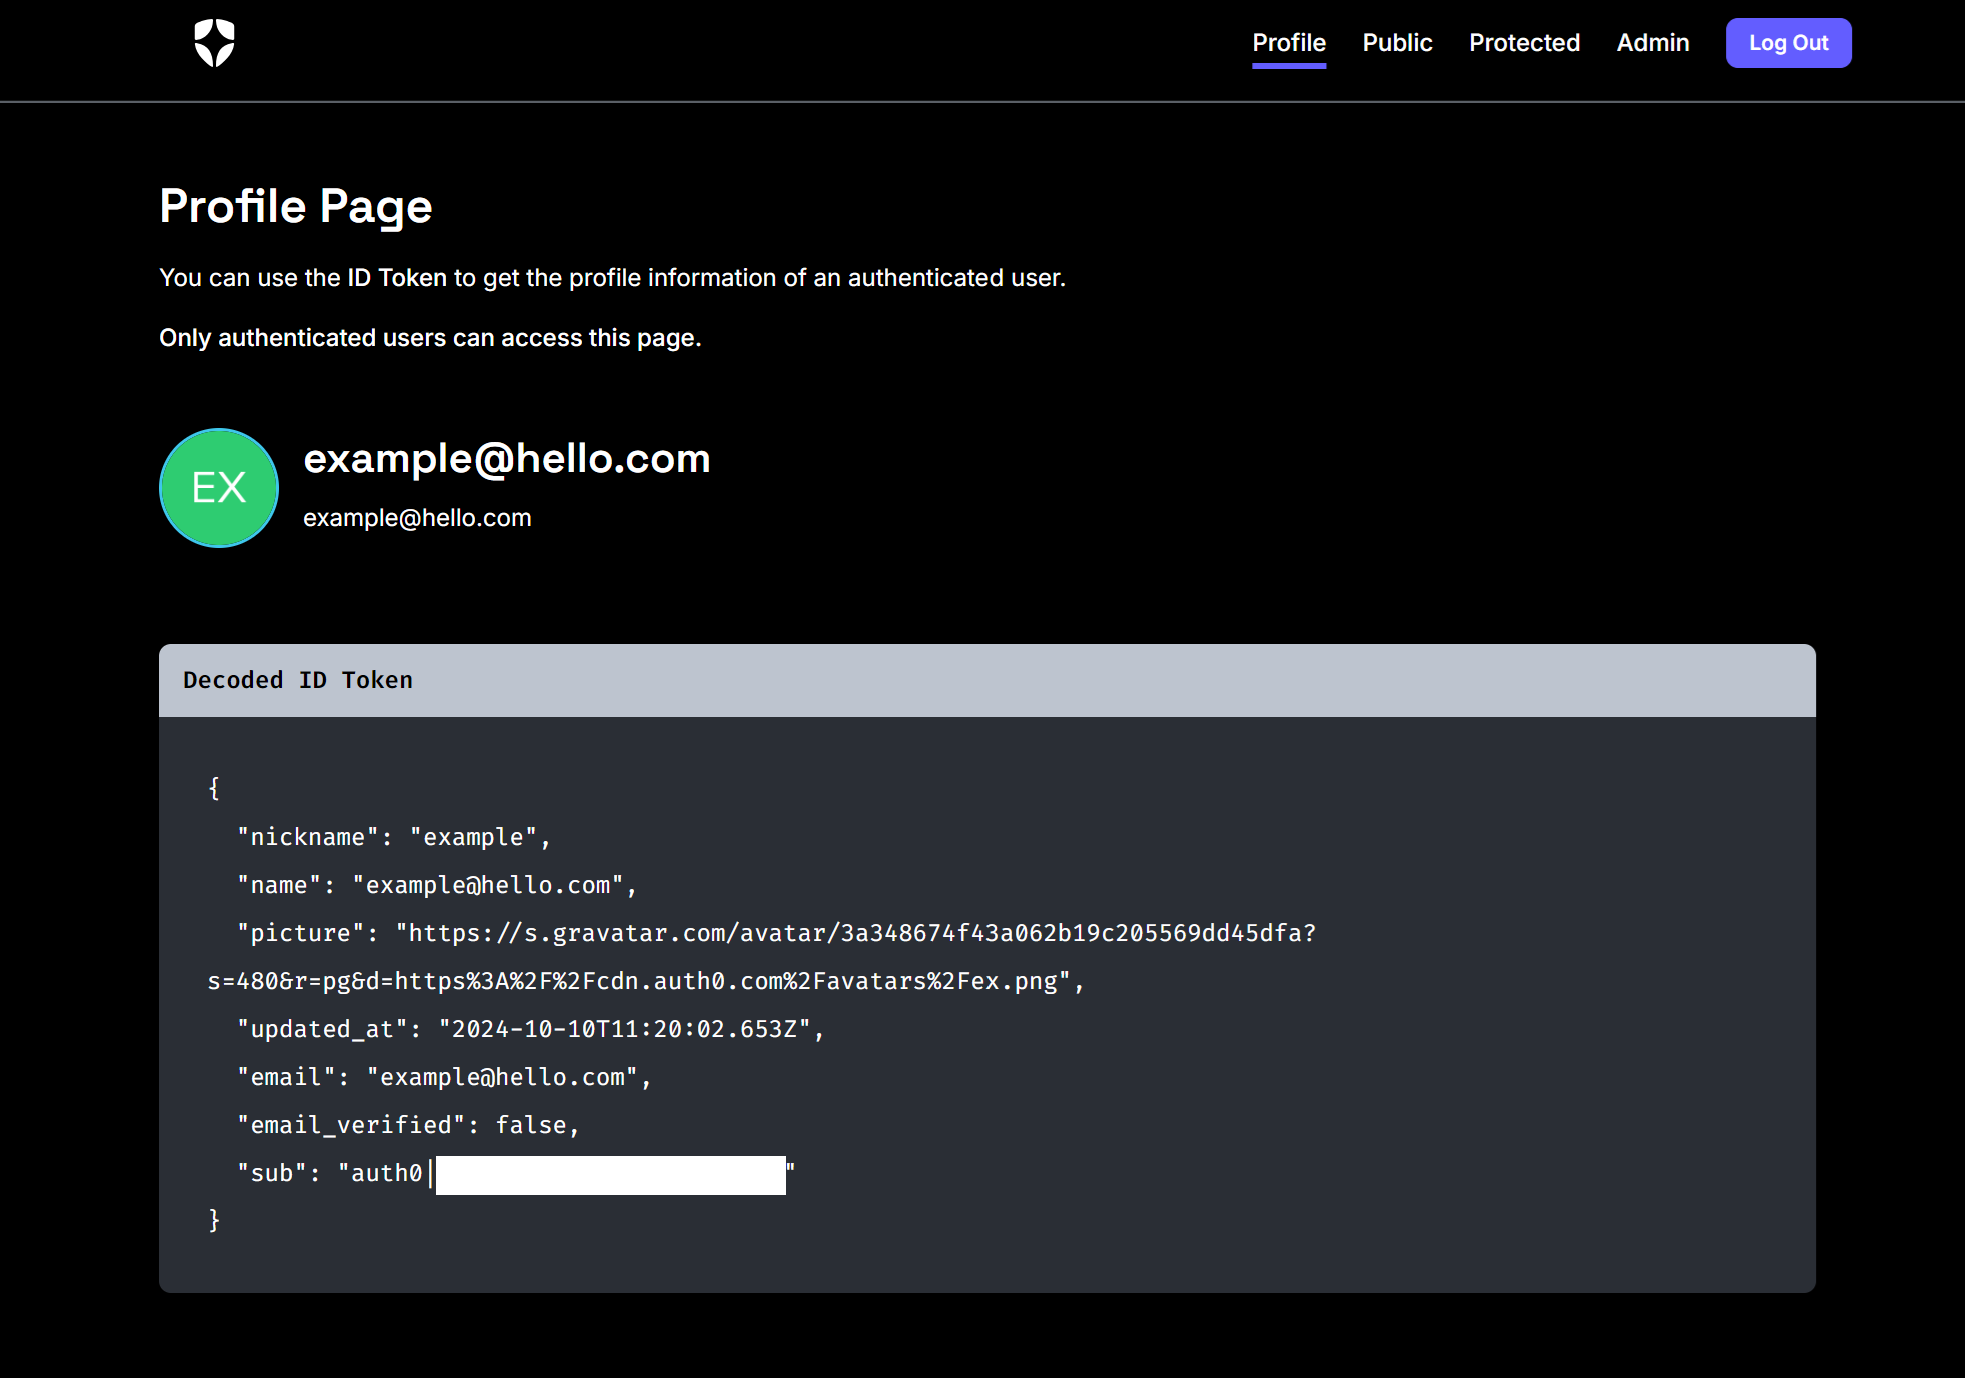
And then, on successful login, it redirects you to the requested page – for example:

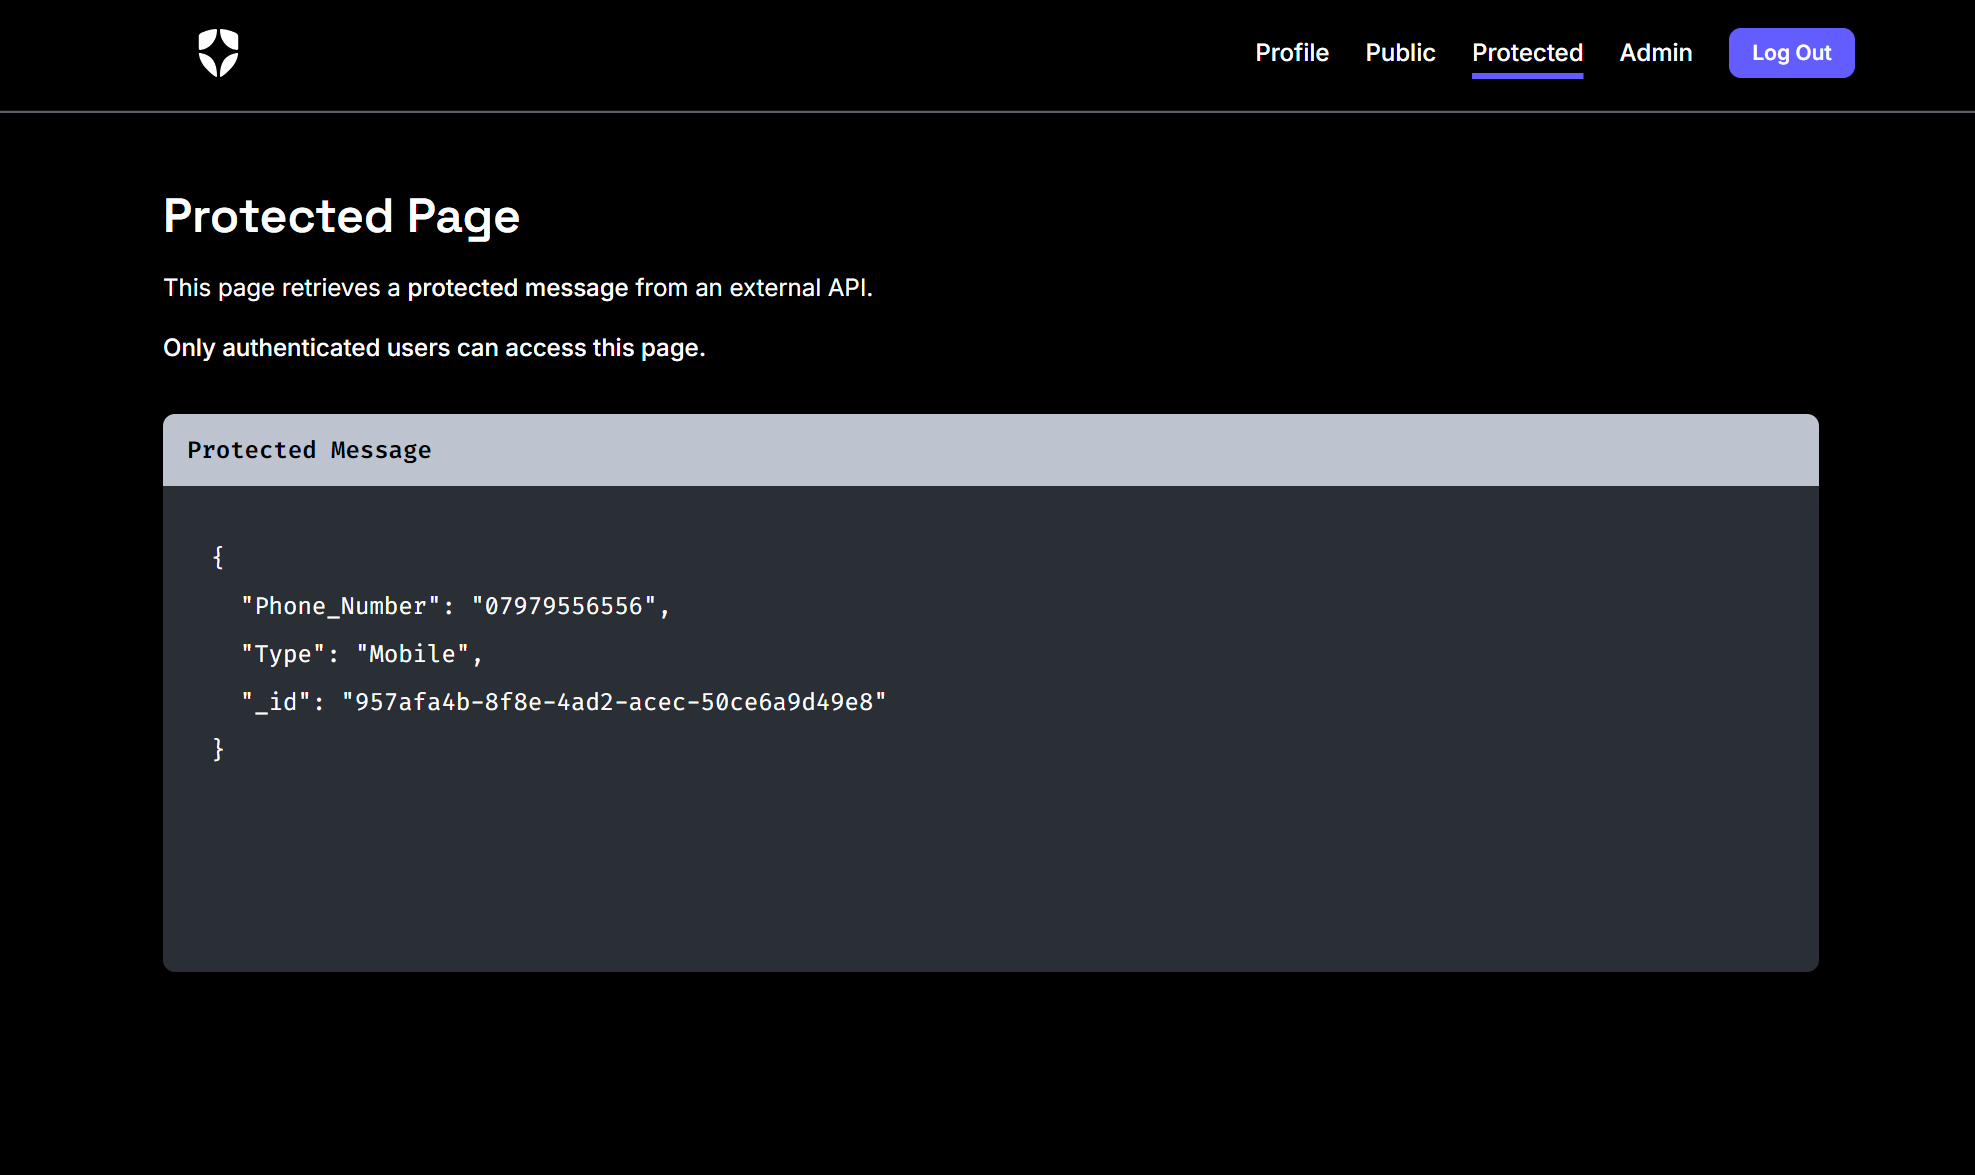
Once logged in, you can see other pages that are for authorised users only – Protected and admin:
In this tutorial, we’ve replaced the default message on the Protected page with a Content Entry pulled from the CMS.

These protected routes are, of course, protected on the server using [Authorize] attributes. If a user logs out and manually navigates to /protected, they’ll be redirected to the login page.
Set up your Auth0 account
Create an Auth0 account, or use an existing one
Within the Auth0 portal, click Create Application:
Name:
Hello World ClientType:
Single Page Web Application
In the application settings, note the following for later:
Auth0 Domain
Auth0 Client ID
And set the following:
Allowed Callback URLs:
http://localhost:4040/callbackAllowed Logout URLs:
http://localhost:4040Allowed Web Origins:
http://localhost:4040
In the application Credentials tab, make sure Application Authentication is set to None. If the authentication is set to Client Secret, you will see 401 Unauthorized later.
Within the Auth0 portal, click Create API:
Name:
Hello World ServerIdentifier:
https://hello-world.example.com(note that this is merely an identifier and won’t be pinged)This identifier will be used as the Auth0 Audience later
Click User Management:
Create the user credential you’ll use to log in later
Set up the React project
git clone https://github.com/auth0-developer-hub/spa_react_typescript_hello-world.git
cd spa_react_typescript_hello-world
git checkout basic-authentication-with-api-integration
In the project directory, create a .env file with the following
REACT_APP_AUTH0_DOMAIN=<your auth0 domain noted earlier>
REACT_APP_AUTH0_CLIENT_ID=<your auth0 client ID noted earlier>
REACT_APP_AUTH0_CALLBACK_URL=http://localhost:4040/callback
REACT_APP_AUTH0_AUDIENCE=<your auth0 audience noted earlier>
REACT_APP_API_SERVER_URL=http://localhost:6060
npm install
npm start
That’s it. You don’t need to make any changes to the React project to get this tutorial running.
Set up the .NET API project
git clone https://github.com/auth0-developer-hub/api_aspnet-core_csharp_hello-world.git
cd api_aspnet-core_csharp_hello-world
git checkout basic-authorization
You may need to install .NET 6 or update the project’s targeted .NET version.
Add the following settings to your appsettings.json:
  "PORT": "6060",
  "CLIENT_ORIGIN_URL": "http://localhost:4040",
  "AUTH0_AUDIENCE": "https://hello-world.example.com",
  "AUTH0_DOMAIN": <your auth0 domain noted earlier>,
Install the Forrit SDK
Install the Forrit SDK (a private NuGet package), as shown here: Creating a simple React app | setup.
Add the CMS configuration
In appsettings.json, to connect to your CMS instance, add the following properties:
  "FCMS": {
    "ConsumerKey": "{consumer-app-id}",
    "ManifestsContainerSas": "{manifests-container-sas-url}",
    "ReleasesSas": "{releases-table-sas-url}",
    "ServiceBusNamespace": "https://{service-bus-namespace}",
    "TenantId": "{tenant-id}",
    "DefaultLocale": "{default-locale-short-code}"
  }
For how to get this configuration information, also see Creating a simple React app | setup.
Specify the configuration file
In Program.cs, replace the following line:
configBuilder.AddEnvironmentVariables()
With this block, specifying appsettings.json as the config file to read from:
configBuilder
    .AddEnvironmentVariables()
    .SetBasePath(Directory.GetCurrentDirectory())
    .AddJsonFile("appsettings.json", optional: false, reloadOnChange: true);
Add the CMS services
In Program.cs, add a reference to the Forrit SDK:
using Forrit.Consumers.Extensions;
And add the following lines to use the Forrit CMS services:
builder.Services.AddHttpContextAccessor();
builder.Services.AddDistributedMemoryCache();
builder.Services.AddForritCmsServices(builder.Configuration);
Retrieve content from the CMS
The following is the simplest possible example and should not be used in production.
In Services/MessageService.cs, add a reference to the Forrit SDK services:
using Forrit.Consumers.Services;
Inject the Forrit SDK’s ContentService – add the following private field and constructor:
    private readonly IContentService _contentService;

    public MessageService(IContentService contentService) {
        _contentService = contentService;
    }
And replace the existing GetProtectedMessage method:
    public Message GetProtectedMessage()
    {
        return new Message { text = "This is a protected message." };
    }
With one that retrieves content from the CMS:
    public Message GetProtectedMessage()
    {
        var myEntryAsJson = _contentService
          .GetContentEntryForTypeJsonAsync("<your CT name>", "<your CE name>")
          .Result;

        return new Message { text = myEntryAsJson };
    }
Don’t forget to replace the placeholders in the above code snippet with the name of your Content Type and Content Entry. And make sure they have been published in a Release to the environment you’re connecting to.
For more information about SDK APIs, see 4.0 Requesting Content Types and Entries.
Update the MessagesController
Finally, replace the existing GetProtectedMessage method definition:
    public ActionResult<Message> GetProtectedMessage()
    {
        return _messageService.GetProtectedMessage();
    }
with the following, to return just the message body, which is our Content Entry JSON:
    public ActionResult<string> GetProtectedMessage()
    {
        return _messageService.GetProtectedMessage().text;
    }
Ensure that the routes you want to protect have the [Authorize] attribute, otherwise users will be able to navigate to them directly without authentication.
Run the server
Using dotnet run or Visual Studio, run the project and open the browser at http://localhost:4040.
Navigate the the /protected page and log in when prompted. You should see something like the following.

Tutorial outcome
You’ve learned how to set up authentication for you apps to protect pages that should be displayed to authorised users only – for example, pages that include CMS content.
