4.0 Creating a simple React app
Introduction
In this tutorial you’ll learn how to:
Create a Consumer Application
Retrieve content using the SDK
Display your content in a React app
What you’ll create
A Consumer Application with a React front-end that fetches and displays your content.
The outcome should look something like the following, depending on the images you use:
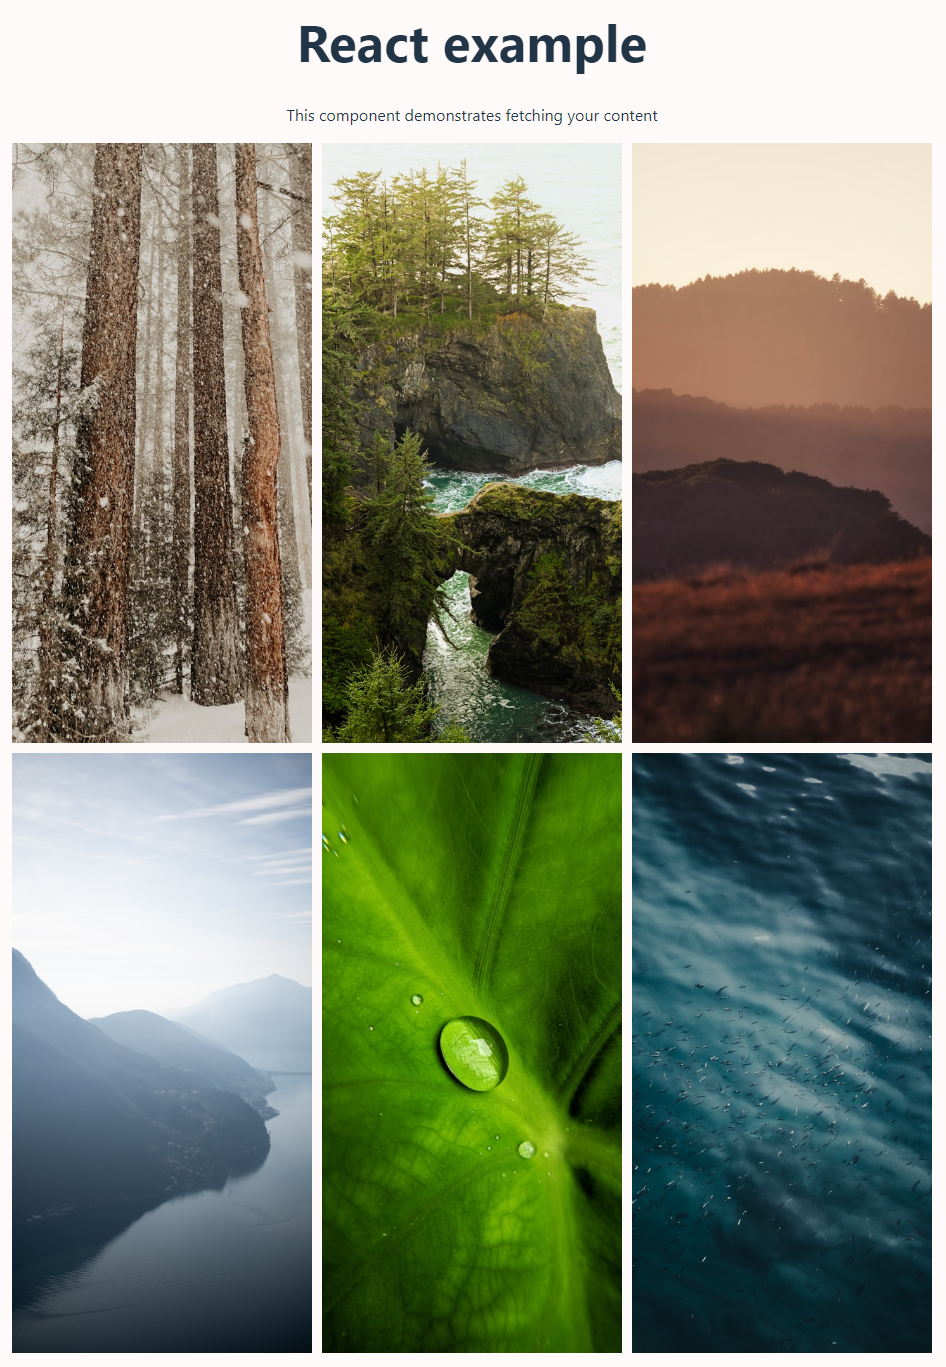
Your content retrieved from the CMS and displayed in a grid in a React component
Before you begin…
Before writing the Consumer Application, you must complete the following prerequisite steps:
Add content to the CMS
Create the Visual Studio project
Add the Forrit package source
Install the Forrit packages (the SDK)
Obtain configuration information (from Azure or Service Delivery Hub)
Authenticate Visual Studio with Azure Services
1. Add content to the CMS
You can skip this step if you wish to pull down existing content – but if so you must:
Ensure the content has been published to your Consumer Application
Update the referenced object properties in the
ImagesControllerlater
Before you can consume your content, you must first add it to the CMS and publish it.
Create a new Task to safely learn in during this tutorial
Upload the images that will be used in your content
Add the Content Type of your content – use the example below if you wish to use the code snippets later without modification (you don’t need the hints)
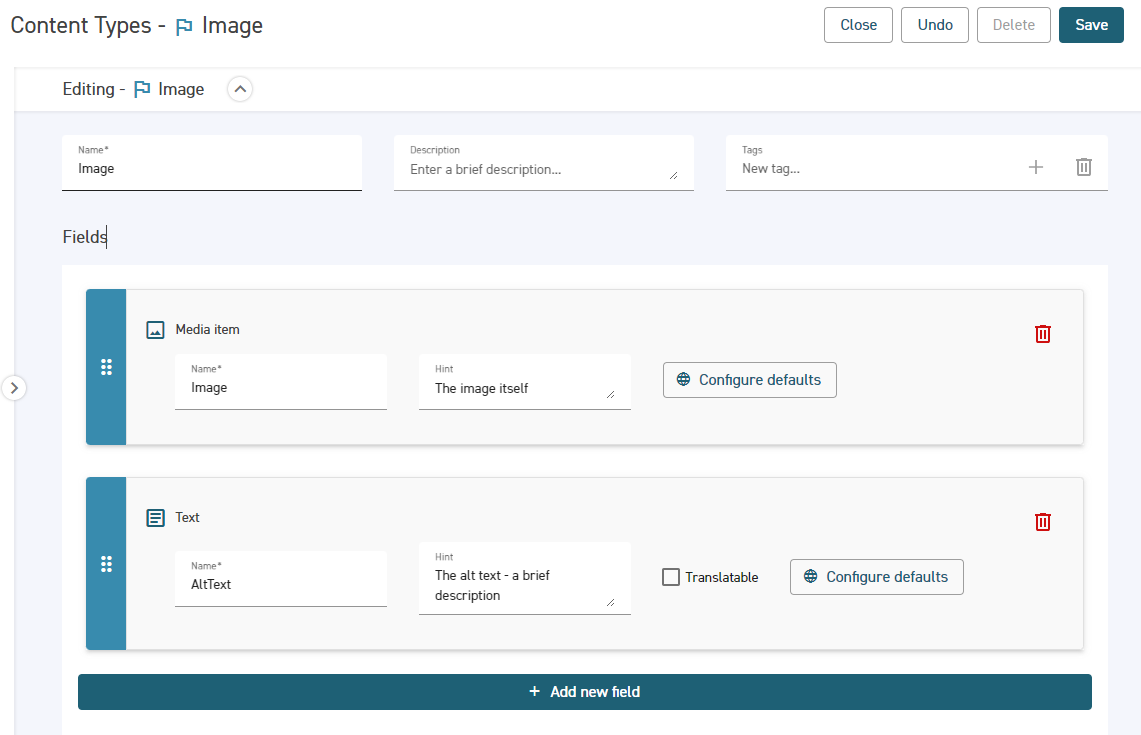
The Content Type used in this tutorial
Add the units of actual content that you’ll retrieve – for example:
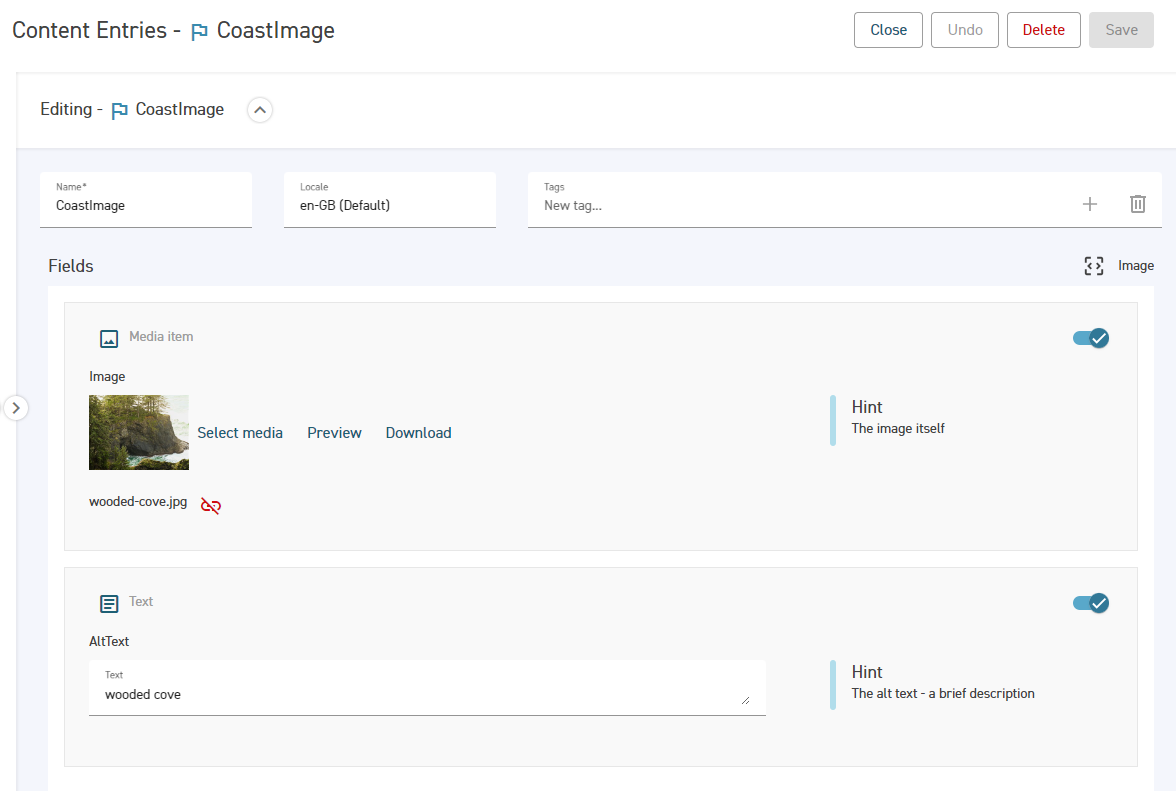
One of the Content Entries used in this tutorial
Create a Release from your Task
Publish to a Consumer Application
Publish the Release to a non-production (e.g. staging) Consumer Application
It’s not recommended that you publish to a production Consumer Application during this tutorial. However, if you wish, you can do so by reviewing and completing your Task, creating a Release from the Approved Content, and then choosing a production environment when publishing.
2. Create the Visual Studio project
Click
File→New→Project...Select the
React and ASP.NET Core (TypeScript)templateChoose a name (e.g.
ReactTutorial) and a location for the projectIf you choose a different name, remember to replace the namespaces in the code later
Select
.NET 8.0 (Long Term Support)Click
Create
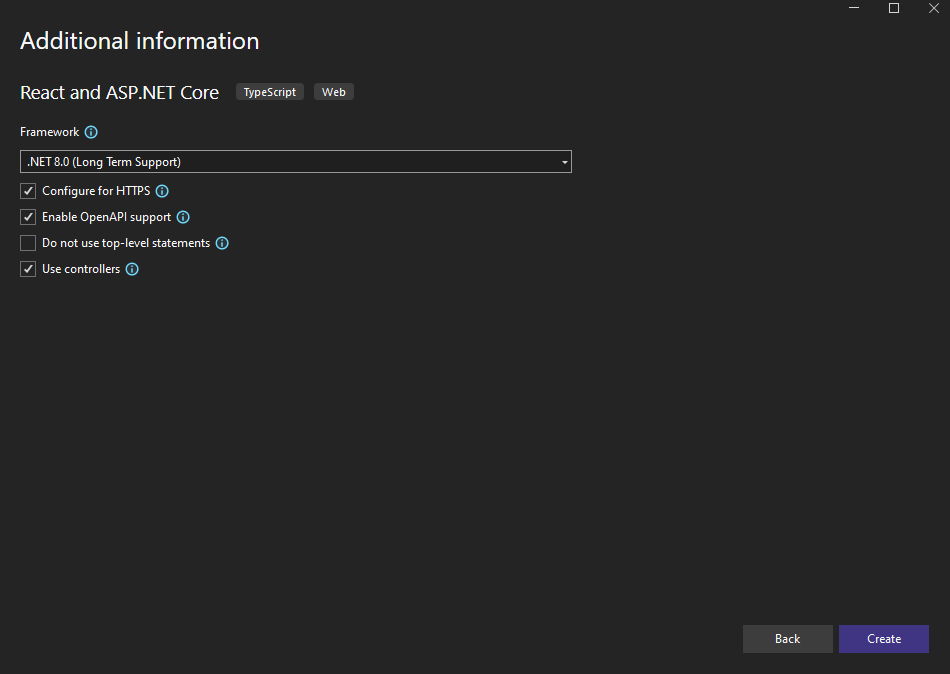
The Visual Studio project creation screen for React and ASP.NET Core template
3. Add the Forrit package source
As this is a private package, you must first be granted access by Forrit.
Select
Tools→NuGet Package Manager→Package Manager Settings→Package SourcesAdd the following package source:
Name:
ForritSource:
https://forrit.pkgs.visualstudio.com/_packaging/cortex-sdk/nuget/v3/index.json
Keep your existing package sources selected as shown in the image below
You may have to reboot Visual Studio and enter credentials
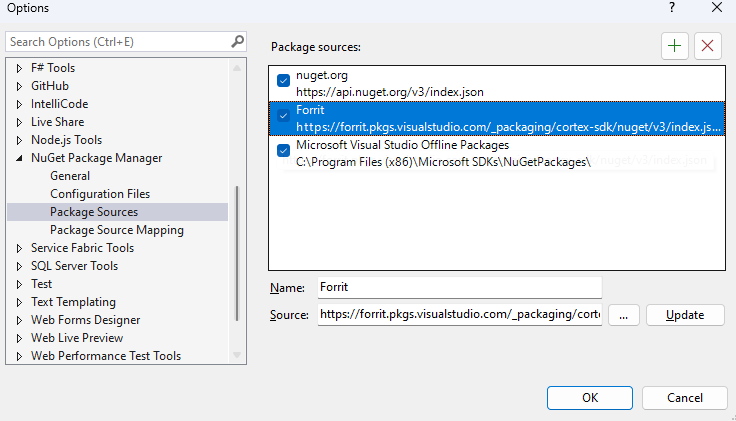
NuGet Package Sources
4. Install the Forrit packages
Select
Tools→Nuget Package Manager→Manage NuGet Packages for Solution...Change the package source to
ForritFor the server project, install the latest (
4.xversion):Forrit.ConsumersForrit.Consumers.Types
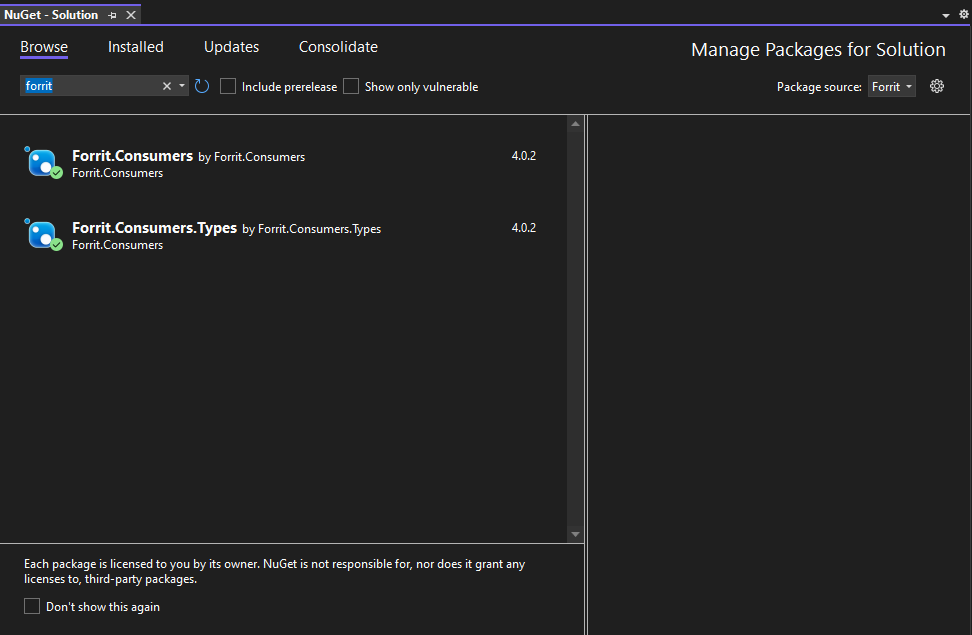
The Forrit NuGe packages
5. Obtain configuration from Service Delivery Hub
If you aren’t set up with Service Delivery Hub, you can instead retrieve the information directly from Azure. For more information about how to do this, see4.0 Retrieving configuration information from Azure.
Keep a note of the details in the following steps; you’ll need them later.
1. Tenant ID
You can find your Tenant ID below the tenant name, as outlined below.

2. Connection strings
To get the connection string information, first select the CMS instance.

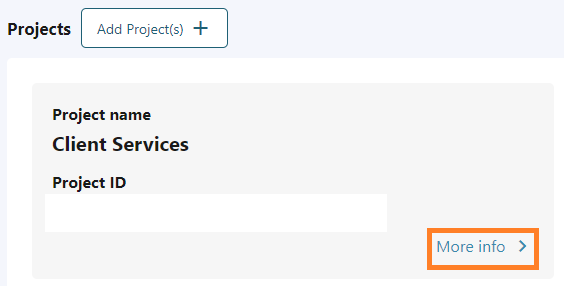
Scroll down and click More info for the relevant Project.
Click the connection strings button for your Consumer Application.
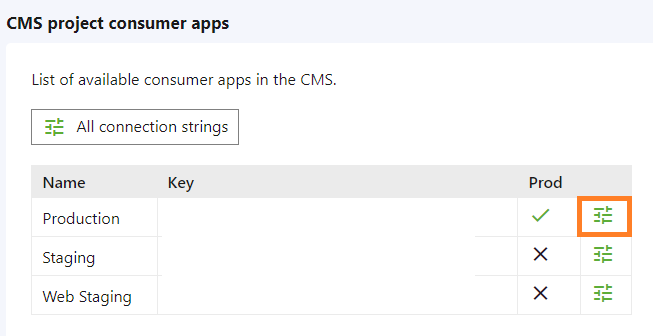
Note the consumer key.
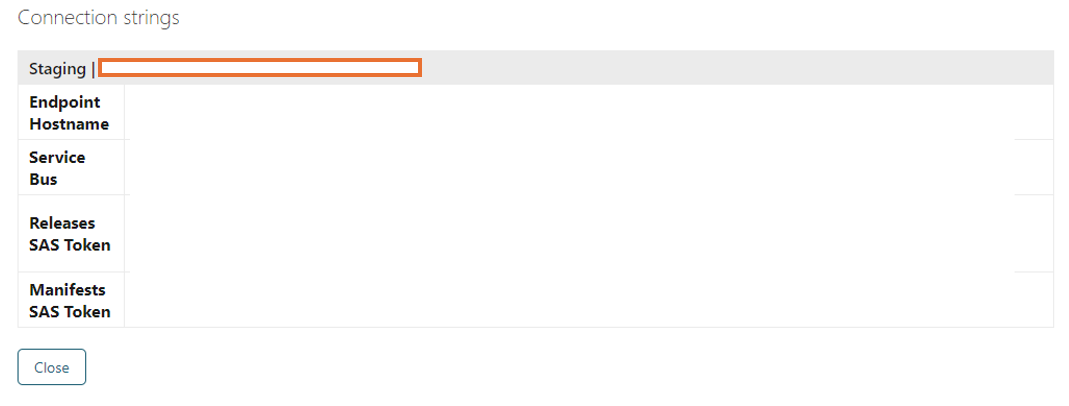
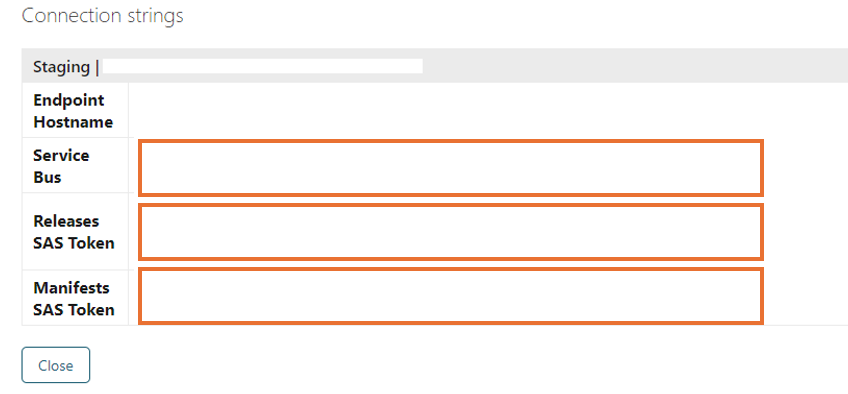
And the service bus namespace, the releases SAS URL and the manifests SAS URL:
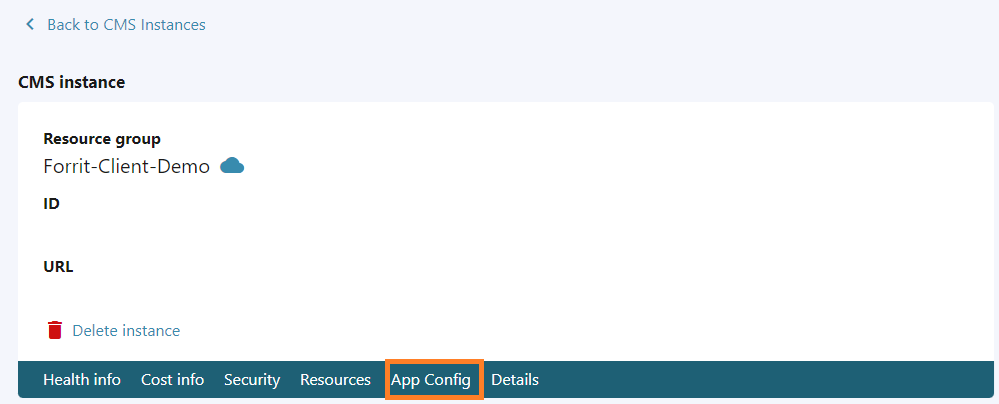
If the Service Bus namespace is incorrect here, you can also find it in the App Config section:
6. Authenticate with Azure Services in Visual Studio
In Visual Studio, go to
Tools→Options→Azure Service Authenticationand choose an account to authenticate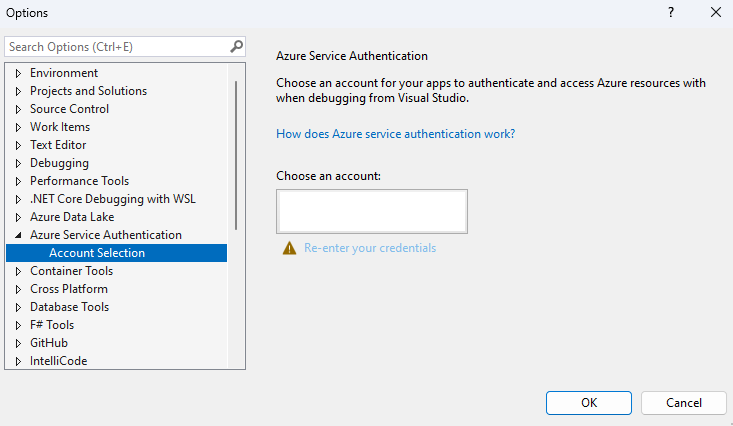
Visual Studio Azure Service Authentication
Write the Consumer Application
With the setup all done, you’re now ready to develop a Consumer Application with a React front-end, by completing the following steps:
Add CMS connection settings
Add Forrit CMS services
Create an API for your content
Consume your content with React
Run the project
1. Add CMS connection settings
In appsettings.json, add the following configuration block and replace the values with your information from the Service Delivery Hub (or Azure):
  "FCMS": {
    "ConsumerKey": "{consumer-app-id}",
    "ManifestsContainerSas": "{manifests-container-sas-url}",
    "ReleasesSas": "{releases-table-sas-url}",
    "ServiceBusNamespace": "https://{service-bus-namespace}",
    "TenantId": "{tenant-id}",
    "DefaultLocale": "{default-locale-short-code}"
  }
This is used by the SDK to connect to and retrieve content from Azure.
2. Add Forrit CMS services
In Program.cs, add the following reference:
using Forrit.Consumers.Extensions;And the following lines of code:
builder.Services.AddHttpContextAccessor();
builder.Services.AddDistributedMemoryCache();
builder.Services.AddForritCmsServices(builder.Configuration);
This adds services you can use to readily retrieve CMS content, such as:
The
ManifestsService– caches content and updates when a new release is madeThe
RoutingService– retrieves and sets up routings defined in the CMS Routing ManagerThe
ContentService(used in this tutorial) – retrieves Content Types and Content Entries
3. Create an API for your content
Update the config
In the client project, update vite.config.ts:
Update the proxy property from
'^/weatherforecast'to'^/api/images'
In the server project, update ReactTutorial.Server.http:
Update the end of the GET address from
/weatherforecast/to/api/images/
Add the controller
In the server project, add a new controller called ImagesControllerwith the following code:
using Forrit.Consumers.Models;
using Forrit.Consumers.Services;
using Microsoft.AspNetCore.Mvc;
using System.Text.Json;

namespace ReactTutorial.Server.Controllers
{
    [ApiController]
    public class ImagesController : ControllerBase
    {
        private readonly IContentService _contentService;
        private readonly IConfiguration _configuration;

        public ImagesController(IContentService contentService, IConfiguration configuration)
        {
            _contentService = contentService;
            _configuration = configuration;
        }

        [HttpGet("api/images")]
        public async Task<IActionResult> GetImagesAsync([FromQuery] string? locale)
        {
            // Use the default locale from config if none is given
            string localeShortCode = locale ?? _configuration.GetValue<string>("FCMS:DefaultLocale");

            // Fetch your Content Entries
            List<ContentEntryResponse> contentEntryResponses
                = await _contentService.GetContentEntriesForTypeAsync("Image");

            // Select each entry's content for the given locale
            IEnumerable<object> localeContentEntries = contentEntryResponses

                .Select(contentEntryResponse => GetLocaleContentEntry(contentEntryResponse, localeShortCode));
            return Ok(localeContentEntries);
        }

        private object GetLocaleContentEntry(ContentEntryResponse contentEntryResponse, string localeShortCode)
        {
            string localeContent = contentEntryResponse.LocaleContentEntries
                .First(localeContentEntry => localeContentEntry.LocaleShortCode == localeShortCode).Content;

            return new
            {
                Name = contentEntryResponse.Name,
                Content = JsonSerializer.Deserialize<object>(localeContent)
            };
        }
    }
}
Note that this requires that an "Image" Content Type is published to your Consumer Application.
Remember to update the namespace if you chose a different name for your project.
ImagesController operation
When a client requests
/api/images, theImagesControlleruses the SDK’sContentServiceto retrieve all of the Content Entries for the“Image"Content TypeThe
ImagesControllerthen returns only the Content Entries for the requested Locale (based on thelocaleURL query parameter – or the default from your configuration file if none is given)
4. Consume your content with React
The following steps use React to fetch and display your content.
Fetch content with React
Replace src/App.jsx with the following:
import { useEffect, useState } from 'react';
import './App.css';

interface Images {
    name: string;
    content: {
        Image: string;
        AltText: string;
    }
}

function App() {
    const [images, setImages] = useState<Images[]>();

    useEffect(() => {
        fetchImages();
    }, []);

    const contents = images === undefined
        ? <p><em>Loading... Please refresh once the ASP.NET backend has started. See <a href="https://aka.ms/jspsintegrationreact">https://aka.ms/jspsintegrationreact</a> for more details.</em></p>
        : <div className="grid">
            {images.map(image =>
                <img
                    className="grid-item"
                    key={image.name}
                    src={image.content.Image}
                    alt={image.content.AltText}
                />
            )}
        </div>

    return (
        <div>
            <h1>React example</h1>
            <p>This component demonstrates fetching your content </p>
            {contents}
        </div>
    );

    async function fetchImages() {
        const response = await fetch('api/images?locale=en-GB');
        const data = await response.json();
        setImages(data);
    }
}

export default App;
Note that this example depends on your content having:
An
Imagefield of typeMedia ItemAn
AltTextfield of thetexttype
App.tsx operation
Creates a component that fetches content from your API and displays it in a grid
To retrieve content from another Locale, change the query string
?locale=en-GBin the above code
Add styling
In src/App.css, add the following:
body {
    background: #FFFAFA;
}

.grid {
    display: flex;
    flex-flow: row wrap;
    justify-content: center;
    gap: 10px;
}

.grid-item {
    width: 300px;
    height: 600px;
    object-fit: cover;
}
5. Run the project
To see the project in action, complete the following steps:
Run the Visual Studio project
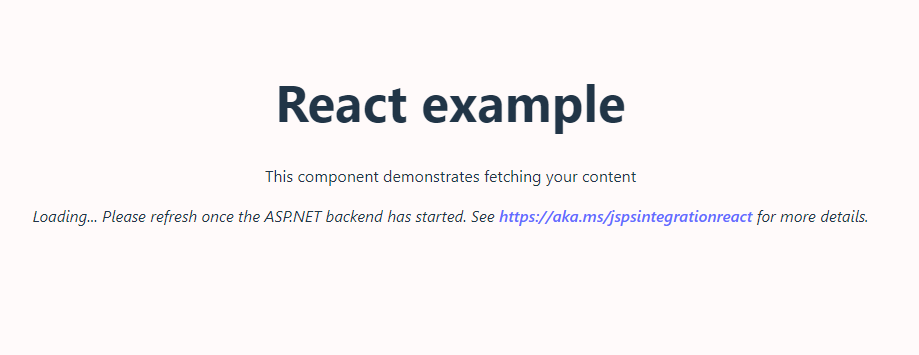
Wait for the server to start up, then refresh the page to retrieve your content – for example:
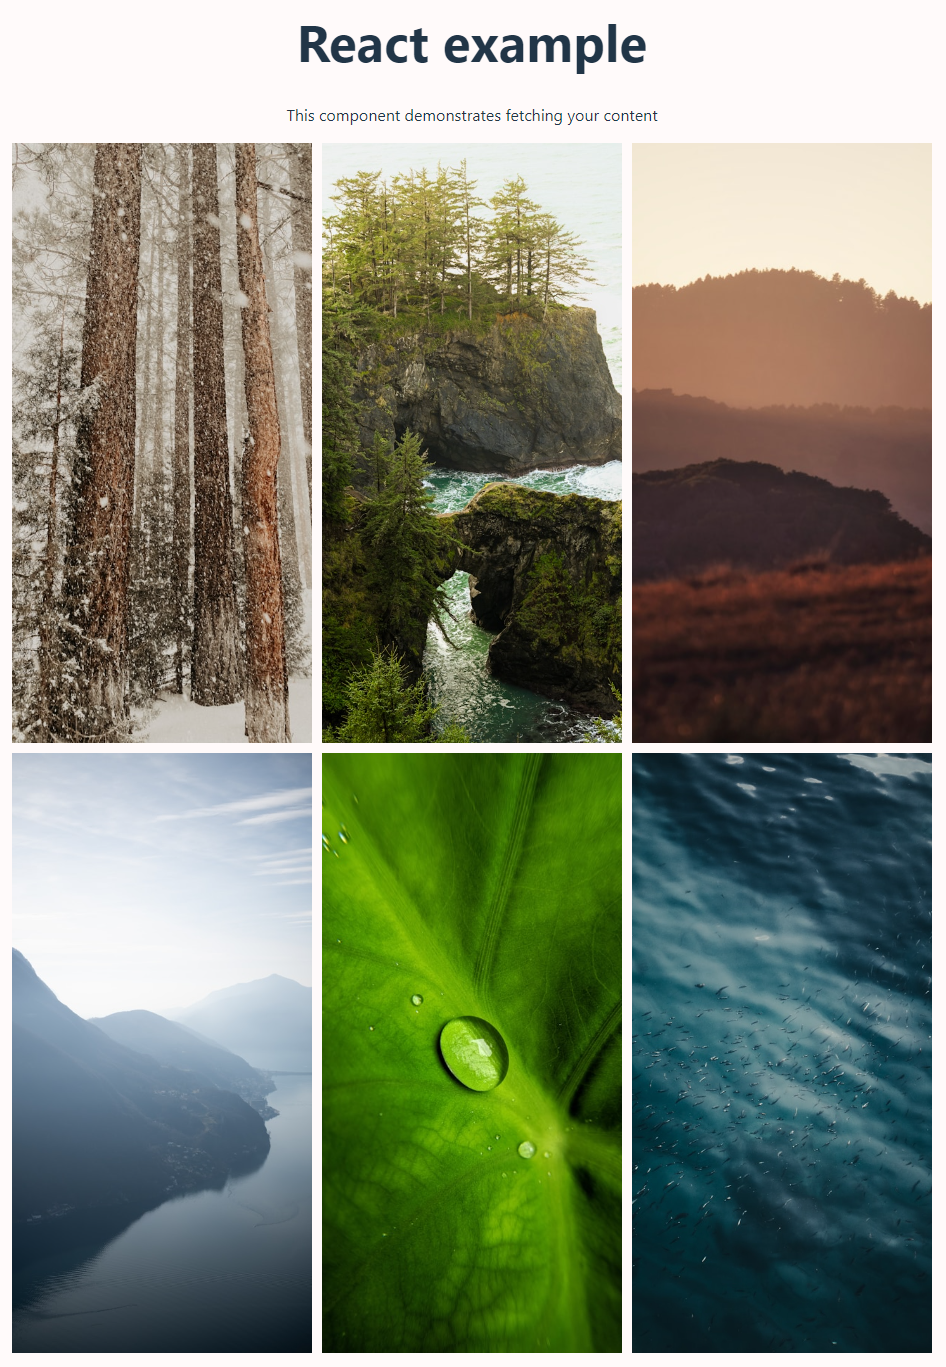
Your content displayed in a grid in a React component
If you have added appropriate content to the CMS and published it to the Consumer Application, you should see it displayed in a grid.
Tutorial outcome
In this tutorial, you have:
Created a basic Consumer Application
Used the SDK to retrieve your CMS content
Displayed the content in a React application
Note that the code in this tutorial has been simplified for demonstration purposes and is not suitable for production.
Troubleshooting
If you’re having issues with this tutorial, see the following troubleshooting sections.
Azure authentication
If you’re receiving Azure authentication errors, try:
Rebooting Visual Studio and reauthenticating:
Go to
Tools→Options→Azure Service Authentication, and choose an account to authenticate
You may need to install the Azure authentication package (azd) and run
azd auth loginEnsuring that the Shared Access Signature URLs have not expired
Checking that the SAS URLs are assigned to the correct keys in your config
NuGet package installation
If you’re having issues installing the NuGet packages:
Make sure you haven’t deselected your existing package sources
Ensure you have received access to the private NuGet source from Forrit
Missing content
Make sure your Release is the latest one to be published to the target Consumer Application
